Ingredients
Method
- Prepare the Tin: Lightly grease a 23cm x 33cm (9x13 inch) baking tin and line it with baking parchment, leaving some overhang on the two long sides. This will act as a 'sling' to help you lift the bars out later.
- Make the Base: Place the digestive biscuits in a food processor and pulse until you have fine crumbs. Alternatively, put them in a sealed bag and crush them with a rolling pin. Pour the crumbs into a mixing bowl, add the 1/4 tsp of salt, and pour over the melted butter. Mix with a fork until all the crumbs are evenly moistened.
- Press and Chill the Base: Tip the buttery crumbs into your prepared tin. Use the back of a spoon or the bottom of a glass to press the mixture down into a firm, even layer. Place the tin in the refrigerator to chill for at least 20 minutes while you prepare the filling.
- Create the Peanut Butter Filling: In a large bowl, use an electric mixer to beat the room-temperature butter and the smooth peanut butter together until light and fluffy, about 2 minutes. Add the sifted icing sugar, vanilla extract, and 1/2 tsp salt. Mix on a low speed to combine, then increase the speed and beat for another 2-3 minutes until the mixture is completely smooth and creamy.
- Add the Second Layer: Retrieve the tin from the fridge. Dollop the peanut butter filling over the chilled base and spread it out into an even layer using an offset spatula or the back of a spoon. Return the tin to the refrigerator for at least 1 hour to allow the filling to firm up.
- Melt the Chocolate Topping: Towards the end of the chilling time, prepare the topping. Place the chopped dark and milk chocolate in a heatproof bowl. I find melting chocolate in a bowl set over a saucepan of gently simmering water (a bain-marie) gives me the most control and a glossy finish. You can find a great guide to this technique on BBC Good Food. Stir until the chocolate is completely melted and smooth.
- Pour and Set: Take the tin from the fridge and pour the melted chocolate over the firm peanut butter layer. Gently tilt the tin to ensure the chocolate covers the entire surface. If you like, you can warm the extra tablespoon of peanut butter slightly and dot it over the chocolate, then use a skewer to create a marbled effect.
- Final Chill: Place the tin back in the refrigerator for one final chill, for at least 1 hour, or until the chocolate is completely hard.
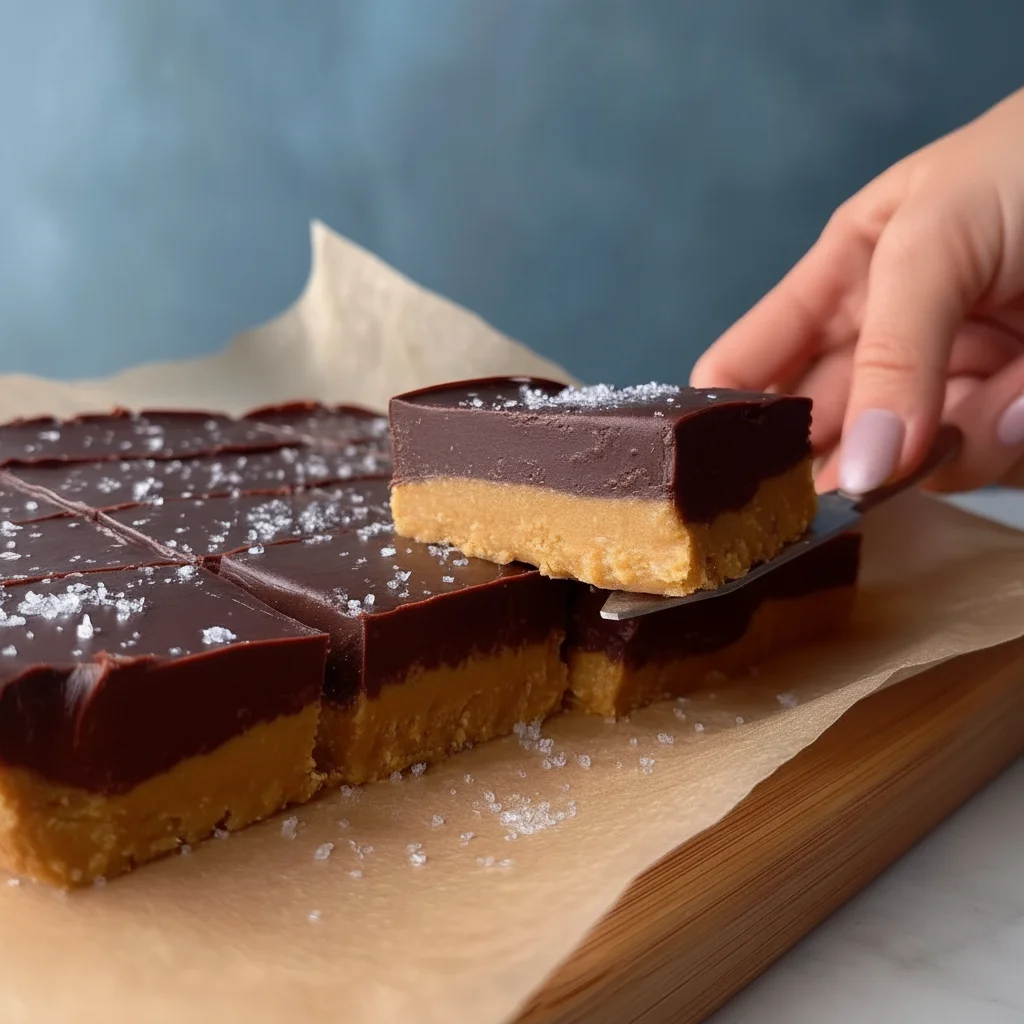
- Slice and Serve: Once set, use the parchment paper sling to lift the entire block out of the tin and onto a cutting board. For the cleanest cuts, run a large, sharp knife under hot water, wipe it dry, and then slice into 16 bars.
Notes
Total time includes approximately 2 hours and 20 minutes of inactive chilling time. For the cleanest cuts, run a sharp knife under hot water and wipe dry between slices.