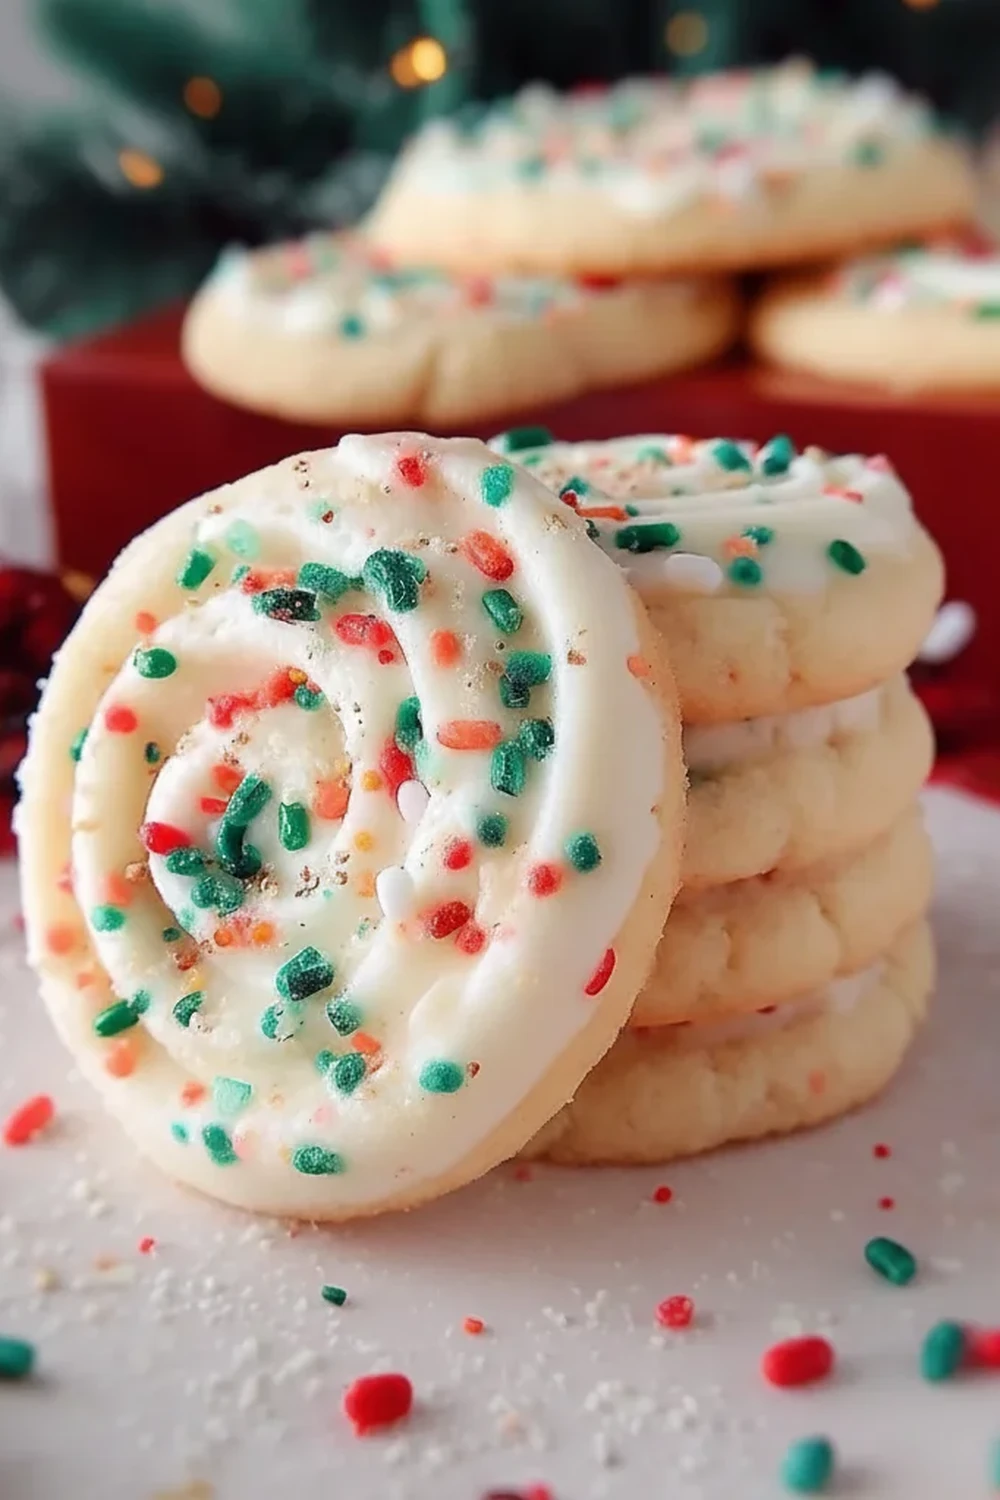
Frosted Christmas Sugar Cookies
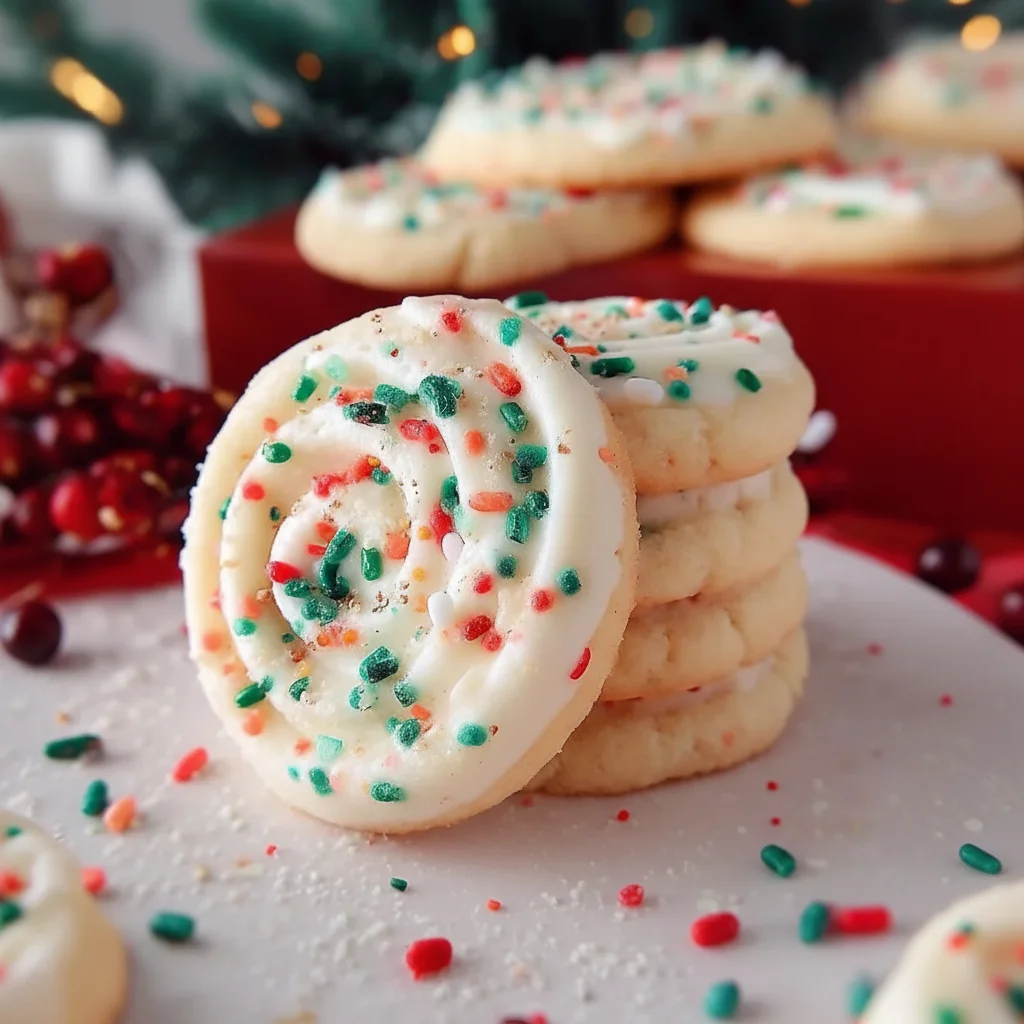
There’s a particular magic that fills the kitchen when the scent of baking sugar cookies mingles with the crisp December air. For me, that buttery, vanilla-infused aroma is the official start of the festive season. It’s more than just a recipe; it’s about creating edible memories, gathering the family for a session of joyful, flour-dusted creativity. These Christmas Sugar Cookies are the result of years of testing and tweaking. I used to struggle with sugar cookies that spread into shapeless blobs until I discovered the importance of properly chilling the dough. This recipe guarantees biscuits that hold their shape beautifully, giving you the perfect canvas for decorating.
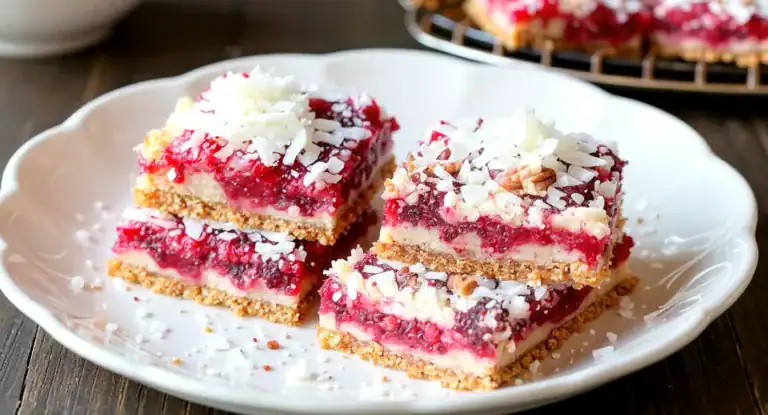
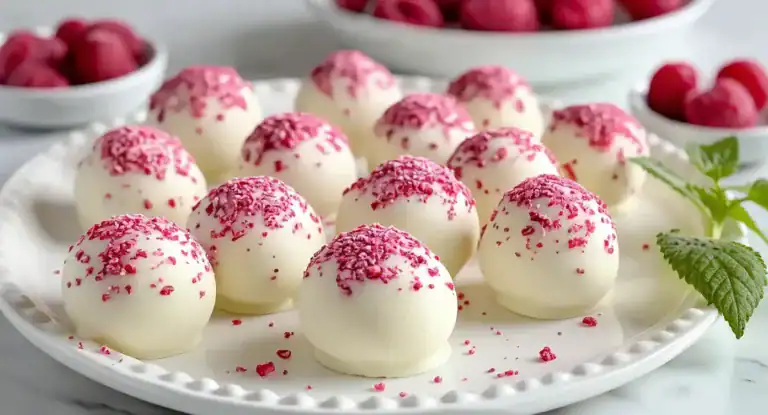
What makes these frosted cookies so special is their texture. They have delightfully crisp edges that give way to a soft, slightly chewy centre that melts in your mouth. They are sturdy enough to handle detailed icing but tender enough to be a genuine treat. This is the recipe we turn to for everything from classroom parties to homemade gifts for neighbours. If you’re looking for other simple yet impressive festive treats, our Biscoff Truffles are always a huge hit.
Making these is an activity in itself, ideal for a cosy weekend afternoon with Christmas carols playing in the background. Whether you’re an experienced baker or looking to start a new tradition with your little ones, these Christmas Cookies are straightforward and incredibly rewarding. The real joy comes from decorating them, transforming simple shapes into vibrant, edible works of art.
Recipe Overview
This recipe delivers a classic, no-fail Christmas Sugar Cookie that is buttery, tender, and perfectly suited for cutting into intricate shapes. The flavour is rich with high-quality butter and a pure vanilla essence, with a subtle hint of almond to make it taste truly special. During my testing, I found that adding just a quarter teaspoon of almond extract elevates the buttery flavour without overpowering it, giving the cookies a professional bakery taste.
- Prep Time: 25 minutes
- Chilling Time: 2 hours (minimum)
- Cook Time: 8-10 minutes per batch
- Total Time: Approximately 3 hours
- Servings: Makes about 36 cookies
- Difficulty: Easy
Why You’ll Love This Christmas Sugar Cookies Recipe
- Exceptional Flavour and Texture: We use real unsalted butter, which provides a rich, creamy taste that margarine just can’t replicate. The texture is sublime—firm enough for a clean bite, with a soft, yielding interior.
- Comes Together Simply: The hands-on time is under 30 minutes. The rest is just chilling time, which is crucial for getting those perfect, non-spreading shapes.
- A Versatile Dough: This recipe is wonderfully adaptable. You can infuse the dough with citrus zest, warm spices, or even a little cocoa powder for a chocolatey twist.
- Works Beautifully for Gifting: These frosted cookies are sturdy and look stunning packaged in tins or cellophane bags. They make a thoughtful and personal gift for teachers, colleagues, and friends during the holidays.
- Family-Tested and Approved: This is the exact recipe my family uses every single year. My children have grown up decorating these, and it’s a tradition that always gets everyone excited for Christmas.
Ingredients You’ll Need
For these sugar cookies, we rely on simple, high-quality pantry staples. The butter is the star, so I recommend using a good European-style unsalted butter if you can; the higher fat content yields a richer flavour and more tender crumb.
- For the Sugar Cookies:
- 225g unsalted butter, softened to room temperature
- 200g caster sugar
- 1 large free-range egg, at room temperature
- 1 tsp pure vanilla extract
- ¼ tsp almond extract (optional, but recommended)
- 375g plain flour, plus extra for dusting
- ½ tsp baking powder
- ¼ tsp salt
- For the Royal Icing:
- 450g icing sugar, sifted
- 2 large free-range egg whites (or 3 tbsp meringue powder)
- 1-2 tbsp water, as needed
- ½ tsp lemon juice
- Gel food colouring of your choice
Sophia’s Tip: Don’t skip bringing your butter and egg to room temperature. Cold ingredients don’t combine smoothly, which can result in a dense, tough cookie. I take mine out of the fridge about an hour before I start baking.
How to Make Christmas Sugar Cookies
The process is methodical but simple. The most important part is patience during the chilling stages—it’s the secret to cookies that don’t spread and keep their festive shapes intact.
- Cream Butter and Sugar: In a large bowl using a stand mixer with the paddle attachment or a hand mixer, beat the softened butter and caster sugar on medium-high speed for about 3-4 minutes, until the mixture is light, pale, and fluffy.
- Add Wet Ingredients: Add the egg, vanilla extract, and almond extract. Beat on medium speed until everything is well combined, scraping down the sides of the bowl as needed to ensure it’s all incorporated.
- Combine Dry Ingredients: In a separate bowl, whisk together the plain flour, baking powder, and salt.
- Mix the Dough: With the mixer on low speed, gradually add the dry ingredients to the wet ingredients in three additions. Mix until just combined—be careful not to overmix, as this can make the cookies tough. The dough will be soft and slightly sticky.
- Chill the Dough: Divide the dough in half. Shape each half into a flat disc about 2cm thick, wrap tightly in cling film, and refrigerate for at least 2 hours, or overnight for best results. I find that chilling overnight gives the best results for no-spread cookies.
- Prep for Baking: When you’re ready to bake, preheat your oven to 180°C (160°C fan) and line two large baking trays with parchment paper.
- Roll and Cut: Lightly flour your work surface and rolling pin. Unwrap one disc of chilled dough and roll it out to a thickness of about 5-6mm (¼ inch). Use your favourite Christmas cookie cutters to cut out shapes, placing them about 5cm apart on the prepared baking trays. Re-roll the scraps once.
- Bake the Cookies: Bake for 8-10 minutes, or until the edges are just beginning to turn a pale golden brown. The centres should still look soft. Let them cool on the baking tray for 5 minutes before carefully transferring them to a wire rack to cool completely.
- Make the Icing: While the cookies cool, prepare the royal icing. In a clean bowl, whisk the egg whites (or meringue powder prepared according to package directions) until frothy. Gradually add the sifted icing sugar and beat on low speed until combined. Increase the speed to high and beat for 5-7 minutes until the icing is glossy and forms stiff peaks. Beat in the lemon juice.
- Decorate: If the icing is too thick, add water ½ teaspoon at a time until you reach a pipeable consistency. Divide the icing into separate bowls and tint with gel food colouring. Decorate the completely cooled cookies using piping bags or small spatulas. Let the icing set completely at room temperature, which can take several hours or overnight.
Tips From My Kitchen
- Temperature is Everything: Your dough must be cold. If your kitchen is warm and the dough starts to feel soft as you’re cutting shapes, place the tray of cut-out cookies into the fridge for 15 minutes before baking. This re-chills the butter and is your best defence against spreading.
- The Parchment Paper Trick: I learned that rolling the dough between two sheets of parchment paper is a game-changer. It prevents sticking without the need for excess flour, which can dry out your cookies and make them tough.
- Make-Ahead Magic: You can prepare the cookie dough up to 3 days in advance and keep it wrapped in the fridge. It can also be frozen for up to 3 months. Just thaw it in the fridge overnight before rolling.
- Proper Storage: Store undecorated cookies in an airtight container at room temperature for up to one week. Once iced, allow the icing to set completely hard (this can take 6-8 hours), then store them in a single layer in an airtight container for up to 5 days.
Equipment You’ll Need
- Stand mixer or a reliable hand mixer
- Baking trays
- Parchment paper
- Wire cooling rack
- Rolling pin
- Christmas-themed cookie cutters
- Piping bags and tips (for decorating)
Common Mistakes to Avoid
- Overcrowding the Baking Tray: Always leave at least 5cm (2 inches) of space between your cookies. This allows hot air to circulate evenly, ensuring they bake properly with crisp edges. If they are too close, they will steam and merge together.
- An Inaccurate Oven Temperature: Many domestic ovens run hotter or cooler than what the dial says. An oven thermometer is a small investment that guarantees accuracy. Too hot, and your cookies will burn on the bottom; too cool, and they may spread more.
- Skipping the Chilling Time: I cannot stress this enough—chilling is not an optional step. It solidifies the fat (butter) in the dough. When the cold fat hits the hot oven, it melts slowly, helping the cookie maintain its shape. Rushing this step will result in sad, flat cookies.
Delicious Variations to Try
This classic sugar cookie recipe is a fantastic base for experimentation. Here are a few ideas to get you started:
- Spiced Christmas Cookies: Add 1 tsp of ground cinnamon and ½ tsp of ground ginger to your dry ingredients for a warm, spiced flavour that’s wonderfully festive.
- Chocolate Sugar Cookies: For a rich, chocolatey version, replace 50g of the plain flour with 50g of high-quality, unsweetened cocoa powder. If you’re a chocolate lover, you might also enjoy my Oatmeal Dark Chocolate Cookies.
- Zesty Citrus Cookies: Add the finely grated zest of one large orange or two lemons to the creamed butter and sugar mixture. The bright citrus notes are a lovely contrast to the sweet icing.
What to Serve With Christmas Sugar Cookies
These frosted cookies are a delight on their own, but they truly shine as part of a festive spread. Here’s what we love to serve them with:
- A Mug of Hot Chocolate: The ultimate pairing. A rich, dark hot chocolate provides a wonderful contrast to the sweet, buttery cookie.
- Mulled Wine or Spiced Apple Cider: For the grown-ups, the warm spices in a glass of mulled wine complement the flavours of the cookies perfectly.
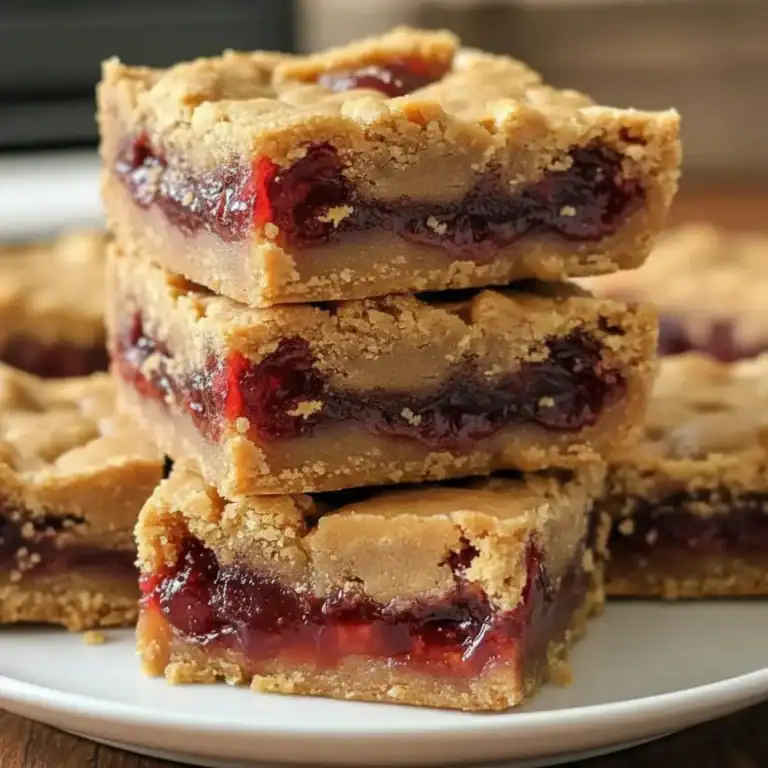
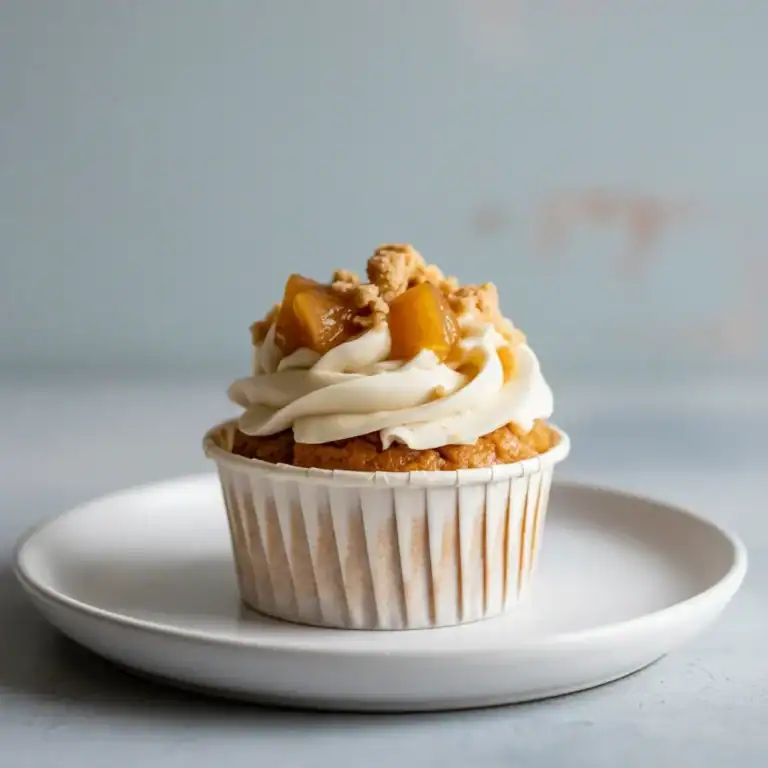
- A Holiday Dessert Table: Present these alongside other festive bakes. They look wonderful next to a showstopper like a Peach Crumb Cheesecake for a truly impressive display.
Frequently Asked Questions
Christmas Sugar Cookies
Ingredients
Method
- Cream Butter and Sugar: In a large bowl using a stand mixer with the paddle attachment or a hand mixer, beat the softened butter and caster sugar on medium-high speed for about 3-4 minutes, until the mixture is light, pale, and fluffy.
- Add Wet Ingredients: Add the egg, vanilla extract, and almond extract. Beat on medium speed until everything is well combined, scraping down the sides of the bowl as needed to ensure it's all incorporated.
- Combine Dry Ingredients: In a separate bowl, whisk together the plain flour, baking powder, and salt.
- Mix the Dough: With the mixer on low speed, gradually add the dry ingredients to the wet ingredients in three additions. Mix until just combined—be careful not to overmix, as this can make the cookies tough. The dough will be soft and slightly sticky.
- Chill the Dough: Divide the dough in half. Shape each half into a flat disc about 2cm thick, wrap tightly in cling film, and refrigerate for at least 2 hours, or overnight for best results. I find that chilling overnight gives the best results for no-spread cookies.
- Prep for Baking: When you're ready to bake, preheat your oven to 180°C (160°C fan) and line two large baking trays with parchment paper.
- Roll and Cut: Lightly flour your work surface and rolling pin. Unwrap one disc of chilled dough and roll it out to a thickness of about 5-6mm (¼ inch). Use your favourite Christmas cookie cutters to cut out shapes, placing them about 5cm apart on the prepared baking trays. Re-roll the scraps once.
- Bake the Cookies: Bake for 8-10 minutes, or until the edges are just beginning to turn a pale golden brown. The centres should still look soft. Let them cool on the baking tray for 5 minutes before carefully transferring them to a wire rack to cool completely.
- Make the Icing: While the cookies cool, prepare the royal icing. In a clean bowl, whisk the egg whites (or meringue powder prepared according to package directions) until frothy. Gradually add the sifted icing sugar and beat on low speed until combined. Increase the speed to high and beat for 5-7 minutes until the icing is glossy and forms stiff peaks. Beat in the lemon juice.
- Decorate: If the icing is too thick, add water ½ teaspoon at a time until you reach a pipeable consistency. Divide the icing into separate bowls and tint with gel food colouring. Decorate the completely cooled cookies using piping bags or small spatulas. Let the icing set completely at room temperature, which can take several hours or overnight.
Notes
I hope these Christmas Sugar Cookies bring as much warmth and joy to your kitchen as they do to mine every year. There’s nothing quite like sharing a plate of these beautiful, home-baked treats with the people you love. If you try the recipe, please leave a comment below and let me know how they turned out! Happy baking!
– Sophia