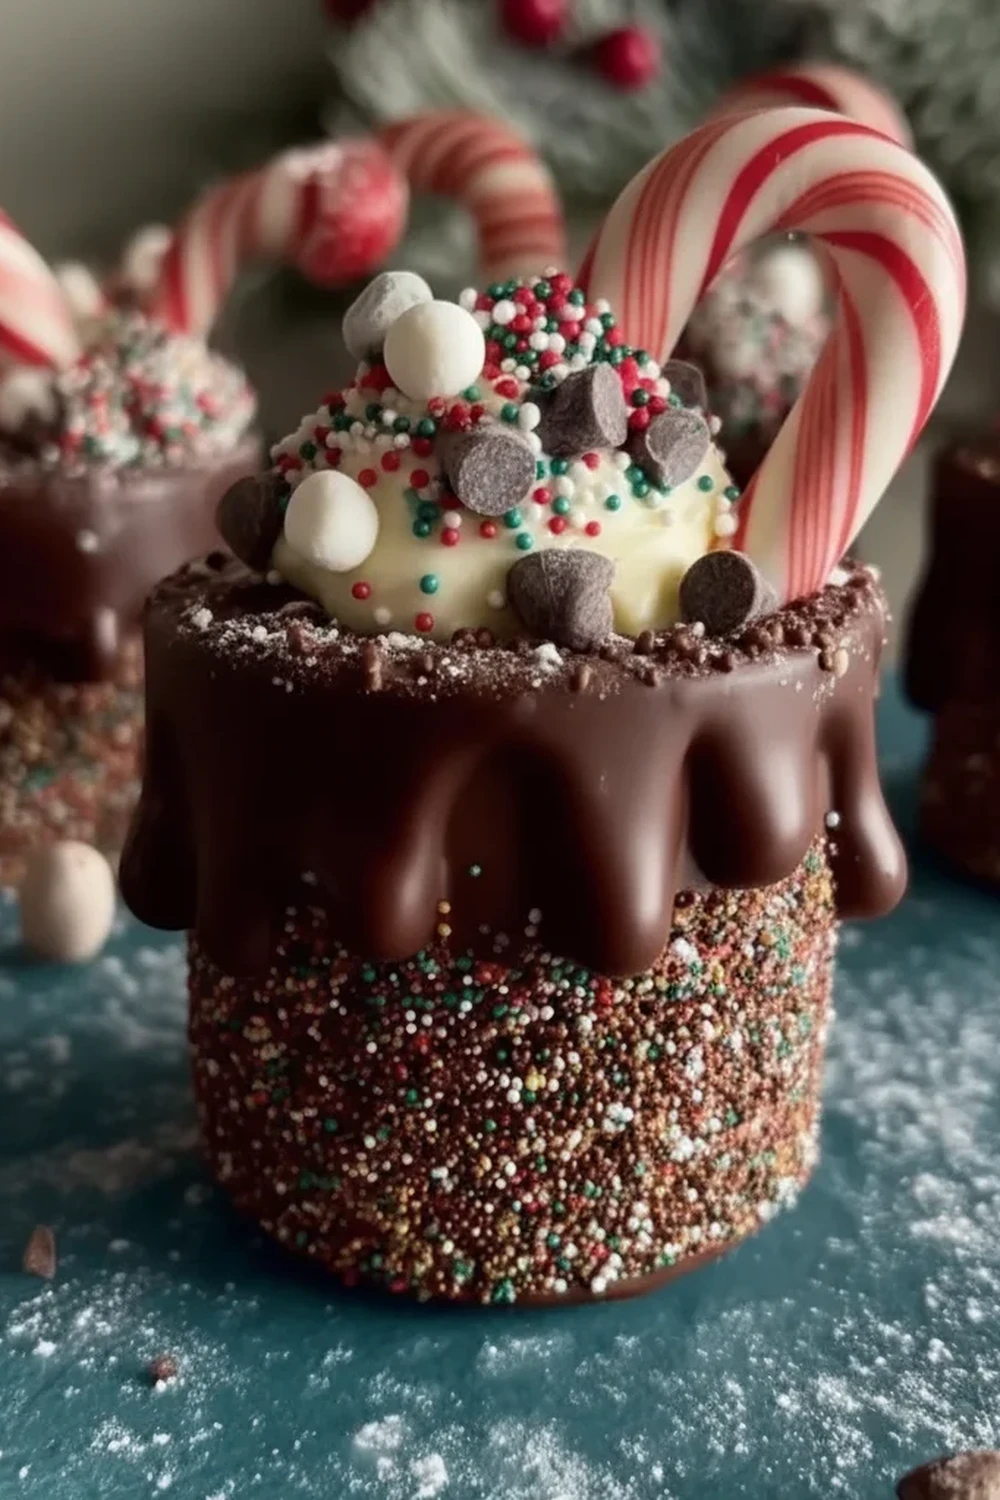
Decadent Chocolate Hot Cups
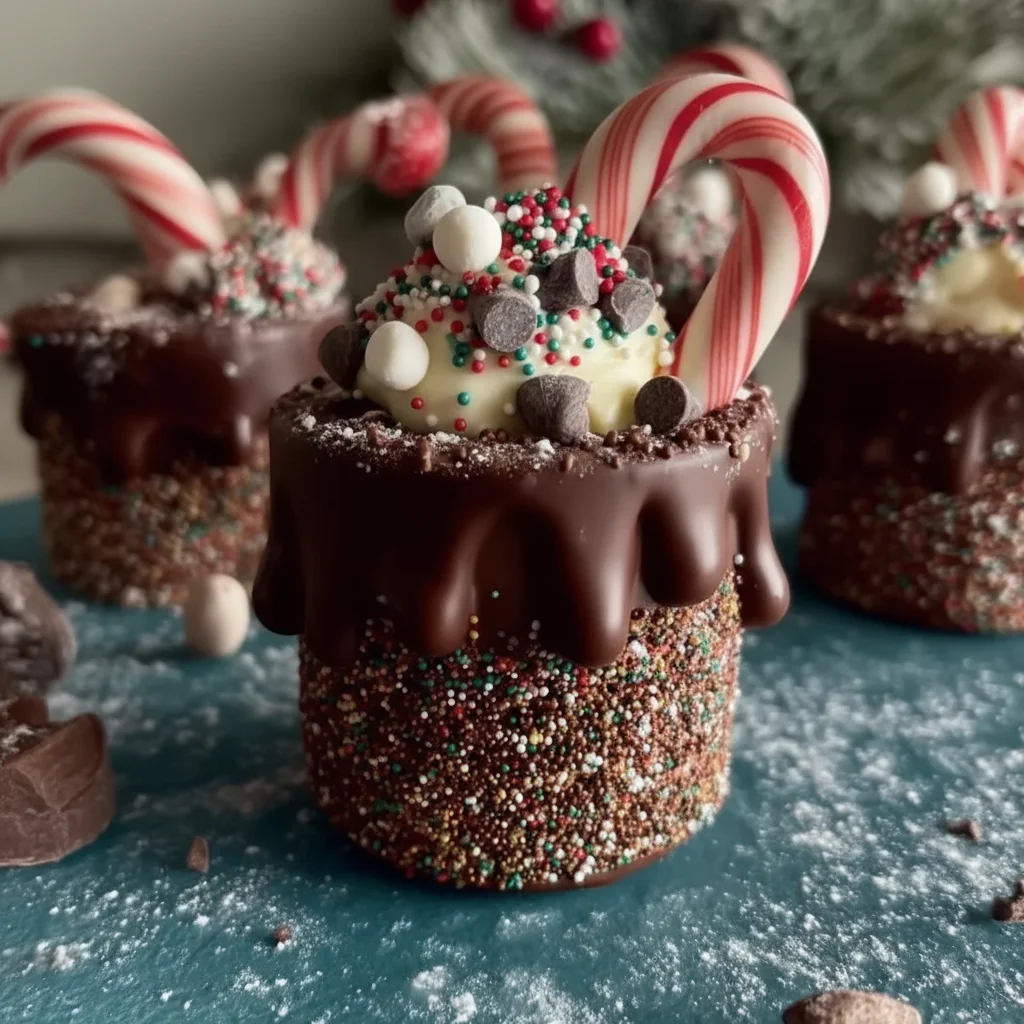
There are moments that call for more than just a simple cup of hot chocolate. Those chilly, damp evenings when you’re curled up on the sofa and want something genuinely decadent, something that feels like a warm hug from the inside out. It’s for precisely these moments that I created these Chocolate Hot Cups. Think of them as the ultimate evolution of hot chocolate: a soft, delicate chocolate sponge on the outside that gives way to a gloriously molten, liquid chocolate centre. I stumbled upon this combination by accident one evening when I wanted something more substantial than hot cocoa, and it’s been a hit ever since.
This isn’t just a dessert; it’s an experience. The magic happens in the oven, where careful timing creates that perfect contrast between a set cake and a flowing, lava-like core. It’s the kind of treat that looks incredibly impressive when you serve it to guests, but is also straightforward enough to whip up for yourself when you need a little lift. We make these for special occasions, quiet date nights in, or simply when a serious chocolate craving strikes. It’s a recipe that never fails to get a “wow” when that first spoonful breaks the surface.
Recipe Overview
These Chocolate Hot Cups are individual molten chocolate lava cakes, baked in ramekins or mugs for a personal-sized portion of pure indulgence. The flavour is intensely rich and deeply chocolatey, thanks to the use of high-quality dark chocolate, with a texture that is simply divine. The edges are like a light, tender brownie, while the centre remains a warm, liquid pool of chocolate sauce. After testing this recipe five times, I finally got the cooking time just right for that perfect liquid centre without it being undercooked.
- Prep Time: 15 minutes
- Cook Time: 14 minutes
- Total Time: 29 minutes
- Servings: 4 individual cups
- Difficulty: Medium
Why You’ll Love These Chocolate Hot Cups
- Genuine Flavour: We use 70% cocoa dark chocolate, which lends a profound, complex chocolate taste that isn’t overly sweet. A dash of vanilla and a pinch of sea salt amplify the notes of the cocoa, making every spoonful a delight.
- Ready in Under 30 Minutes: From gathering your ingredients to pulling these beauties out of the oven, the whole process comes together in about 30 minutes. It’s an impressive dessert that doesn’t demand hours in the kitchen.
- Flexible Recipe: Feel free to add your own twist. A teaspoon of instant espresso powder mixed in with the flour will intensify the chocolate flavour, or a drop of peppermint extract adds a festive touch. Sometimes I pop a single salted caramel truffle into the centre of the batter before baking for a gooey surprise.
- Great for Special Evenings: This recipe works beautifully as an elegant dessert for a dinner party, Valentine’s Day, or simply to make a regular weeknight feel a bit more special.
- Family Tested: My husband, who claims not to have a sweet tooth, always asks for a second one of these. That’s how I know they’re truly special, and everyone who tries them seems to agree.
Ingredients You’ll Need
The quality of your ingredients, especially the chocolate, will make all the difference in these Hot Cups. I always reach for a good-quality dark chocolate bar with at least 70% cocoa solids, like Green & Black’s or Callebaut. It melts beautifully and provides a rich flavour that baking chocolate chips just can’t match. You’ll also need four 175ml (6 oz) oven-safe ramekins or mugs.
- 115g good-quality dark chocolate (70% cocoa solids), chopped
- 115g unsalted butter, plus extra for greasing
- 2 large free-range eggs
- 2 large free-range egg yolks
- 60g caster sugar
- 1 tsp vanilla extract
- 1/2 tsp fine sea salt
- 30g plain flour
- 1 tbsp cocoa powder, for dusting the ramekins
Sophia’s Tip: Make sure your eggs are at room temperature before you begin. Cold eggs don’t whisk up as well and can cause the melted chocolate mixture to seize. I take mine out of the fridge about 30 minutes before I start baking.
How to Make Chocolate Hot Cups
The process for making these Chocolate Cups is all about timing and technique. Don’t be intimidated; just follow the steps closely, and you’ll be rewarded with perfectly molten centres. The key is to have everything ready to go before you start mixing.
- Preheat and Prepare: First, preheat your oven to 200°C (180°C fan). Thoroughly grease the inside of four 175ml ramekins with butter, making sure to cover the bottom and all sides. Add the cocoa powder and turn the ramekins to coat the inside completely, tipping out any excess. Place the prepared ramekins on a baking tray.
- Melt the Chocolate and Butter: In a heatproof bowl set over a saucepan of simmering water (a bain-marie), melt the chopped chocolate and butter together, stirring occasionally until smooth and glossy. You can also do this in the microwave in 20-second bursts, stirring in between. Once melted, set it aside to cool slightly for about 5 minutes.
- Whip the Eggs: In a separate large mixing bowl, using an electric hand whisk or a stand mixer, beat the whole eggs, egg yolks, and caster sugar together on a high speed. Continue whisking for about 5-7 minutes, or until the mixture is pale, thick, and has tripled in volume. It should fall from the whisk in a thick ribbon that holds its shape for a moment on the surface.
- Combine Wet Ingredients: Add the vanilla extract to the slightly cooled chocolate mixture and stir. Gently pour the chocolate mixture into the whipped eggs. Using a large spatula, carefully fold them together until just combined. Try to be gentle to keep as much air in the eggs as possible.
- Fold in the Dry Ingredients: Sift the plain flour and salt over the chocolate-egg mixture. Fold everything together gently until no streaks of flour remain. What works best for me is to stop mixing the moment it’s combined to avoid overworking the batter, which can make the cakes dense.
- Fill the Ramekins: Carefully divide the batter evenly among the four prepared ramekins. They should be about three-quarters full.
- Bake to Perfection: Place the baking tray in the preheated oven and bake for 12-14 minutes. The edges of the cakes will be set and slightly puffed, but the centre will still look soft and have a slight wobble when you gently shake the tray. This wobble is the sign of a perfect molten centre!
- Rest and Serve: Carefully remove the tray from the oven. Let the Chocolate Hot Cups rest in their ramekins for just one minute before serving. You can serve them directly in the ramekins or carefully run a knife around the edge and invert them onto a plate. Serve immediately.
Tips From My Kitchen
- Chocolate Quality Matters: I can’t stress this enough. Using a high-quality chocolate bar designed for eating, rather than baking chips, will give you a smoother, more luxurious molten centre. The history of chocolate is fascinating, and its journey from a bitter drink to a refined confectionary highlights the importance of cocoa percentage and quality. You can learn more about its origins on Wikipedia.
- The Secret Step: Don’t shortcut the egg-whisking stage. Whisking the eggs and sugar until they reach the “ribbon stage” is crucial. This step incorporates air, which gives the cakes their light, delicate structure and prevents them from being heavy. I learned that this is the most important part of the entire process for texture.
- Make-Ahead Batter: You can prepare the batter up to 4 hours in advance. Pour it into the prepared ramekins, cover with cling film, and keep them in the fridge. When you’re ready to bake, take them out of the fridge while the oven preheats and add an extra 1-2 minutes to the baking time.
- Storage: These Chocolate Hot Cups are at their absolute best when eaten fresh from the oven. If you do have leftovers, you can store them in the fridge for up to 2 days. The centre will solidify, but they are still delicious as a rich, dense chocolate pudding, either cold or gently reheated in the microwave for 20-30 seconds.
Equipment You’ll Need
You don’t need any highly specialised equipment for this recipe, but a few key items will make the process much smoother.
- 4 x 175ml oven-safe ramekins or sturdy mugs
- Electric hand whisk or stand mixer
- Heatproof mixing bowls
- Silicone spatula
- Baking tray
Common Mistakes to Avoid
- Overbaking: This is the most common pitfall. Even 60 seconds too long in the oven can turn your molten centre into a fully cooked cake. Start checking at the 11-minute mark and pull them out as soon as the edges are set but the middle still wobbles. Every oven is different, so get to know yours.
- Not Prepping the Ramekins Properly: If you plan to turn the cakes out onto a plate, be meticulous with greasing and dusting. Any missed spot can cause the cake to stick and break, spoiling the grand reveal. The cocoa powder dusting also adds an extra layer of chocolate flavour.
- Rushing the Cooling: Allowing the cakes to rest for one minute after baking is essential. This lets the edges firm up just enough to hold their shape, whether you’re serving in the ramekin or turning them out.
What to Serve With Chocolate Hot Cups
While these are stunning on their own, a simple accompaniment can elevate them even further. The key is to add a contrasting temperature or flavour.
- Vanilla Bean Ice Cream: The classic pairing for a reason. The contrast between the hot, flowing chocolate and the cold, creamy ice cream is simply divine.
- Fresh Berries: A handful of fresh raspberries or a simple raspberry coulis provides a tartness that cuts beautifully through the richness of the chocolate.
- Dollop of Cream: A spoonful of crème fraîche or lightly whipped double cream adds a lovely tangy or creamy counterpoint.
- For a more savoury finish to your meal before dessert, why not try my Bacon Brown Sugar Chicken Tenders?
Frequently Asked Questions
Chocolate Hot Cups
Ingredients
Method
- Preheat and Prepare: First, preheat your oven to 200°C (180°C fan). Thoroughly grease the inside of four 175ml ramekins with butter, making sure to cover the bottom and all sides. Add the cocoa powder and turn the ramekins to coat the inside completely, tipping out any excess. Place the prepared ramekins on a baking tray.
- Melt the Chocolate and Butter: In a heatproof bowl set over a saucepan of simmering water (a bain-marie), melt the chopped chocolate and butter together, stirring occasionally until smooth and glossy. You can also do this in the microwave in 20-second bursts, stirring in between. Once melted, set it aside to cool slightly for about 5 minutes.
- Whip the Eggs: In a separate large mixing bowl, using an electric hand whisk or a stand mixer, beat the whole eggs, egg yolks, and caster sugar together on a high speed. Continue whisking for about 5-7 minutes, or until the mixture is pale, thick, and has tripled in volume. It should fall from the whisk in a thick ribbon that holds its shape for a moment on the surface.
- Combine Wet Ingredients: Add the vanilla extract to the slightly cooled chocolate mixture and stir. Gently pour the chocolate mixture into the whipped eggs. Using a large spatula, carefully fold them together until just combined. Try to be gentle to keep as much air in the eggs as possible.
- Fold in the Dry Ingredients: Sift the plain flour and salt over the chocolate-egg mixture. Fold everything together gently until no streaks of flour remain. What works best for me is to stop mixing the moment it's combined to avoid overworking the batter, which can make the cakes dense.
- Fill the Ramekins: Carefully divide the batter evenly among the four prepared ramekins. They should be about three-quarters full.
- Bake to Perfection: Place the baking tray in the preheated oven and bake for 12-14 minutes. The edges of the cakes will be set and slightly puffed, but the centre will still look soft and have a slight wobble when you gently shake the tray. This wobble is the sign of a perfect molten centre!
- Rest and Serve: Carefully remove the tray from the oven. Let the Chocolate Hot Cups rest in their ramekins for just one minute before serving. You can serve them directly in the ramekins or carefully run a knife around the edge and invert them onto a plate. Serve immediately.
Notes
I really hope you and your loved ones enjoy these Chocolate Hot Cups as much as we do in my home. They are my go-to recipe for a bit of weeknight luxury or an impressive-looking dessert that always gets compliments. If you’re looking for another indulgent dessert, my Peach Crumb Cheesecake is another favourite. Please let me know in the comments how yours turned out! I love hearing about your kitchen adventures.
Happy Baking,
Sophia