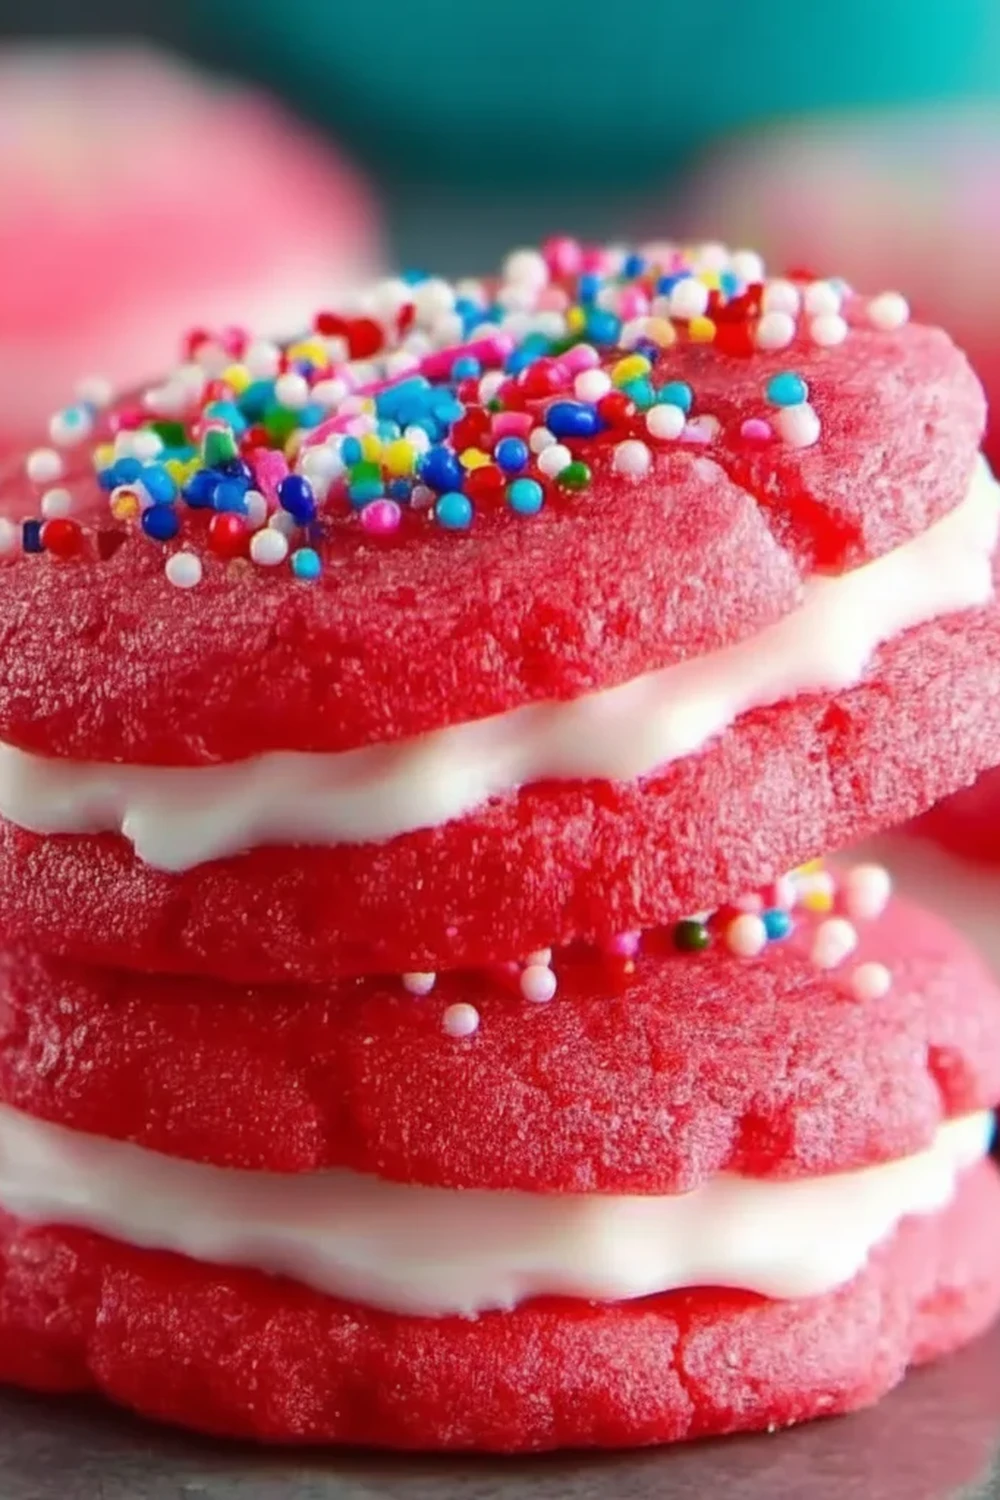
Colorful Raspberry Jello Sugar Cookies
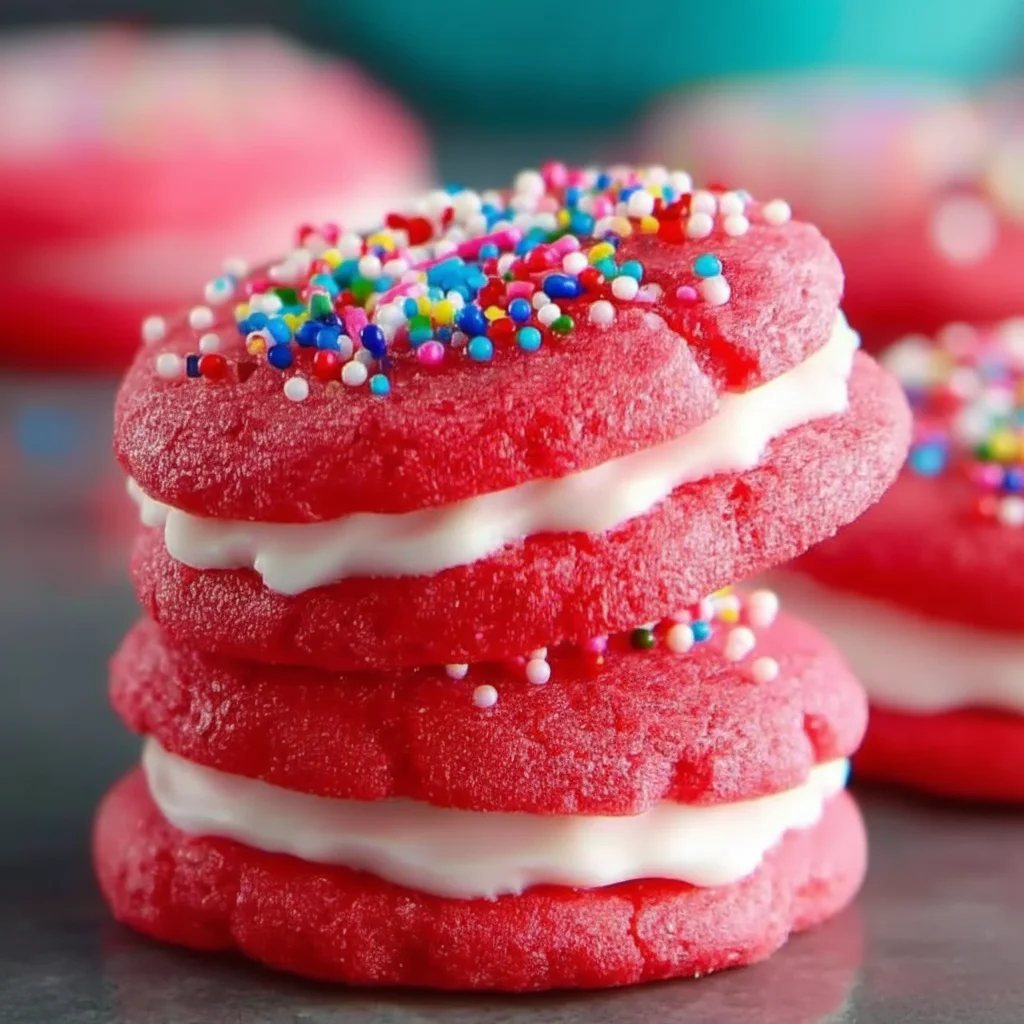
There’s a special kind of joy that comes from opening a biscuit tin to find something unexpected and utterly delightful. While we all love a classic chocolate chip or a simple shortbread, sometimes the occasion calls for a biscuit with a bit more personality. These Raspberry Jello Sugar Cookies are exactly that – vibrant, chewy, and packed with a tangy raspberry flavour that’s both surprising and instantly addictive. They have a wonderfully soft centre, slightly crisp edges, and a beautiful pink hue that makes them stand out on any cake stand.
I stumbled upon this combination by accident one afternoon when I was low on fresh fruit but wanted to make a batch of raspberry-flavoured biscuits. A forgotten packet of raspberry jelly crystals in the back of the pantry became my secret ingredient, and it’s been a staple in my baking ever since. The jelly crystals don’t just add colour; they infuse the dough with an intense, fruity taste and contribute to an amazing chewy texture that is hard to achieve otherwise. These Jello Sugar Cookies are a fantastic bake for getting children involved in the kitchen, and they always get compliments at bake sales and family gatherings.
Recipe Overview
This recipe transforms a classic sugar cookie into a vibrant, fruity treat using one simple, clever ingredient: raspberry jelly crystals. The result is a batch of beautifully pink, soft, and chewy cookies with a tangy sweetness that’s genuinely unique. You can expect a straightforward process that begins with a standard creamed butter and sugar method and ends with perfectly baked cookies that hold their shape. I’ve found that a brief chilling time is crucial for the best texture, preventing them from spreading too much in the oven.
- Prep Time: 20 minutes
- Chill Time: 30 minutes
- Cook Time: 12 minutes
- Total Time: 1 hour 2 minutes
- Servings: 24 cookies
- Difficulty: Easy
Why You’ll Love This Raspberry Jello Sugar Cookies Recipe
- Intense Raspberry Flavour: The jelly crystals provide a concentrated burst of tangy raspberry that isn’t watered down. It’s a bright, fruity taste that is present in every single bite.
- Ready in About an Hour: Including the essential chilling time, you can have a fresh batch of these gorgeous cookies cooling on your counter in just over 60 minutes.
- Wonderfully Chewy Texture: The gelatin in the jelly powder helps create a soft, chewy interior that lasts for days, which is a texture I used to struggle to achieve until I discovered this technique.
- Great for Celebrations: Their lovely pink colour makes them ideal for birthday parties, baby showers, or Valentine’s Day. They add a pop of colour to any dessert table.
- Family Tested: My niece and nephew adore making these with me. They especially love the part where we roll the dough balls in sugar for that extra sparkly finish.
Ingredients You’ll Need
For these Raspberry Jello Sugar Cookies, we’re using fairly standard baking ingredients, with the key exception of the jelly crystals. I always use Hartley’s Raspberry Jelly for its reliable flavour and vibrant colour, but any brand of raspberry jelly crystals (the kind you add water to for dessert) will work well. Make sure your butter is at room temperature for proper creaming.
- 250g plain flour
- 1/2 teaspoon bicarbonate of soda
- 1/4 teaspoon salt
- 170g unsalted butter, softened to room temperature
- 150g caster sugar
- 1 large egg, room temperature
- 1 teaspoon vanilla extract
- 85g packet of raspberry jelly crystals (gelatin powder)
- 50g extra caster sugar, for rolling
Sophia’s Tip: Don’t be tempted to use a “sugar-free” jelly mix. The sugar content in the standard jelly crystals is essential for the cookie’s structure and chewy texture.
How to Make Raspberry Jello Sugar Cookies
The process for making these Jello Sugar Cookies is very straightforward. The most important part is the creaming of the butter and sugar, which creates the light foundation for the cookie dough. Chilling the dough is a non-negotiable step for me, as it guarantees a thicker, chewier cookie.
- Prepare Your Dry Ingredients: In a medium bowl, whisk together the 250g of plain flour, 1/2 tsp bicarbonate of soda, and 1/4 tsp salt. Set this aside for later.
- Cream Butter and Sugars: In a large mixing bowl, using an electric hand mixer or a stand mixer with the paddle attachment, beat the 170g of softened unsalted butter and 150g of caster sugar on medium-high speed for about 3-4 minutes. You’re looking for a light, pale, and fluffy consistency. This step, as explained by baking experts, incorporates air which is key to a good cookie.
- Add Wet Ingredients: Add the large egg and 1 tsp of vanilla extract to the creamed butter mixture and beat again for another minute until everything is well combined. Scrape down the sides of the bowl to ensure it’s all incorporated.
- Combine Dry and Wet Mixtures: Pour the dry flour mixture into the wet ingredients along with the 85g packet of raspberry jelly crystals. Mix on a low speed until just combined. Be careful not to overmix; stop as soon as you no longer see streaks of flour.
- Chill the Dough: Cover the bowl with cling film and place it in the refrigerator to chill for at least 30 minutes. This step is crucial for preventing the cookies from spreading too much while baking.
- Preheat and Prepare: Towards the end of the chilling time, preheat your oven to 180°C (160°C fan). Line two large baking trays with baking parchment. Place the extra 50g of caster sugar in a small, shallow bowl.
- Shape the Cookies: Remove the chilled dough from the fridge. Take about 1.5 tablespoons of dough and roll it into a ball between your palms. Roll the ball in the caster sugar to coat it completely, then place it on the prepared baking tray. Repeat with the remaining dough, leaving about 2 inches of space between each cookie ball. I find that using a cookie scoop ensures they are all a uniform size.
- Bake to Perfection: Bake for 10-12 minutes. The cookies should look slightly puffed up and have set, slightly crinkled edges. They will still appear a little soft in the centre, which is exactly what we want for a chewy texture.
- Cool Down: Let the cookies cool on the baking trays for 5 minutes before transferring them to a wire rack to cool completely. They will firm up as they cool.
Tips From My Kitchen
- Room Temperature is Key: For the best results, ensure your butter and egg are at room temperature. Cold ingredients don’t emulsify properly, which can lead to a dense, greasy cookie. I usually take them out of the fridge about an hour before I start baking.
- The Secret to a Chewy Texture: I learned that slightly underbaking the cookies is the best way to get that glorious chewy centre. Pull them from the oven when the middles still look a tiny bit soft. They will continue to cook from the residual heat of the baking tray.
- Make-Ahead Dough: The cookie dough can be made up to 3 days in advance and stored, well-wrapped, in the fridge. You can also freeze the rolled dough balls for up to 3 months. Just bake them from frozen, adding an extra 2-3 minutes to the cooking time.
- Storage for Lasting Freshness: Store the cooled cookies in an airtight container at room temperature. They will stay soft and chewy for up to 5 days. If you want to keep them even longer, they freeze beautifully once baked.
Common Mistakes to Avoid
- Overcrowding the Baking Tray: Giving the cookies enough space (around 2 inches) is vital. If they are too close together, they will spread and merge into one another, steaming instead of baking and losing their lovely round shape.
- Using Hot Baking Trays: Always let your baking trays cool down completely before placing a new batch of cookie dough on them. A hot tray will cause the butter in the dough to melt immediately, leading to thin, flat cookies.
- Skipping the Chilling Time: I know it’s tempting to skip this step, but chilling the dough allows the butter to solidify. This means the cookies will spread more slowly in the oven, resulting in a thicker, chewier final product. Don’t skip it!
Delicious Variations to Try
One of the best things about these Jello Sugar Cookies is how easily you can adapt the recipe. Once you have the base method down, you can experiment with all sorts of flavours.
- Try Different Jelly Flavours: This recipe works wonderfully with other jelly crystal flavours. Strawberry creates a classic pink cookie, lime gives a zesty green one, and orange provides a lovely citrus note.
- Add White Chocolate Chips: The creaminess of white chocolate pairs beautifully with the tartness of the raspberry. Fold in about 150g of white chocolate chips into the dough just before you chill it.
- Lemon Glaze: For an extra layer of flavour, you can drizzle the cooled cookies with a simple lemon glaze. Just mix 100g of icing sugar with 2-3 tablespoons of fresh lemon juice until you have a smooth, pourable consistency.
What to Serve With Raspberry Jello Sugar Cookies
These raspberry cookies are a delight on their own, but they also pair nicely with a few simple accompaniments.
- A Glass of Cold Milk: The ultimate classic pairing for any cookie. The creaminess of the milk balances the sweet tartness of the raspberry perfectly.
- A Pot of Tea: A cup of Earl Grey or a simple English Breakfast tea is a wonderful companion, making for a lovely afternoon treat.
- Vanilla Ice Cream: Serve a warm cookie alongside a scoop of good-quality vanilla bean ice cream for a simple yet elegant dessert. The contrast in temperatures is fantastic. For other dessert ideas, my Peach Crumb Cheesecake is always a hit.
Frequently Asked Questions
Raspberry Jello Sugar Cookies
Ingredients
Method
- Prepare Your Dry Ingredients: In a medium bowl, whisk together the 250g of plain flour, 1/2 tsp bicarbonate of soda, and 1/4 tsp salt. Set this aside for later.
- Cream Butter and Sugars: In a large mixing bowl, using an electric hand mixer or a stand mixer with the paddle attachment, beat the 170g of softened unsalted butter and 150g of caster sugar on medium-high speed for about 3-4 minutes. You're looking for a light, pale, and fluffy consistency. This step, as explained by baking experts, incorporates air which is key to a good cookie.
- Add Wet Ingredients: Add the large egg and 1 tsp of vanilla extract to the creamed butter mixture and beat again for another minute until everything is well combined. Scrape down the sides of the bowl to ensure it's all incorporated.
- Combine Dry and Wet Mixtures: Pour the dry flour mixture into the wet ingredients along with the 85g packet of raspberry jelly crystals. Mix on a low speed until just combined. Be careful not to overmix; stop as soon as you no longer see streaks of flour.
- Chill the Dough: Cover the bowl with cling film and place it in the refrigerator to chill for at least 30 minutes. This step is crucial for preventing the cookies from spreading too much while baking.
- Preheat and Prepare: Towards the end of the chilling time, preheat your oven to 180°C (160°C fan). Line two large baking trays with baking parchment. Place the extra 50g of caster sugar in a small, shallow bowl.
- Shape the Cookies: Remove the chilled dough from the fridge. Take about 1.5 tablespoons of dough and roll it into a ball between your palms. Roll the ball in the caster sugar to coat it completely, then place it on the prepared baking tray. Repeat with the remaining dough, leaving about 2 inches of space between each cookie ball. I find that using a cookie scoop ensures they are all a uniform size.
- Bake to Perfection: Bake for 10-12 minutes. The cookies should look slightly puffed up and have set, slightly crinkled edges. They will still appear a little soft in the centre, which is exactly what we want for a chewy texture.
- Cool Down: Let the cookies cool on the baking trays for 5 minutes before transferring them to a wire rack to cool completely. They will firm up as they cool.
Notes
I really hope you enjoy baking—and eating—these Raspberry Jello Sugar Cookies as much as my family and I do. They are such a fun, cheerful bake and a brilliant way to add a little something special to your biscuit tin. If you’re looking for another sweet treat that always gets compliments, my Biscoff Truffles are a must-try. I’d love to hear how you get on with this recipe, so please feel free to leave a comment below and let me know what you think! Happy baking, Sophia.